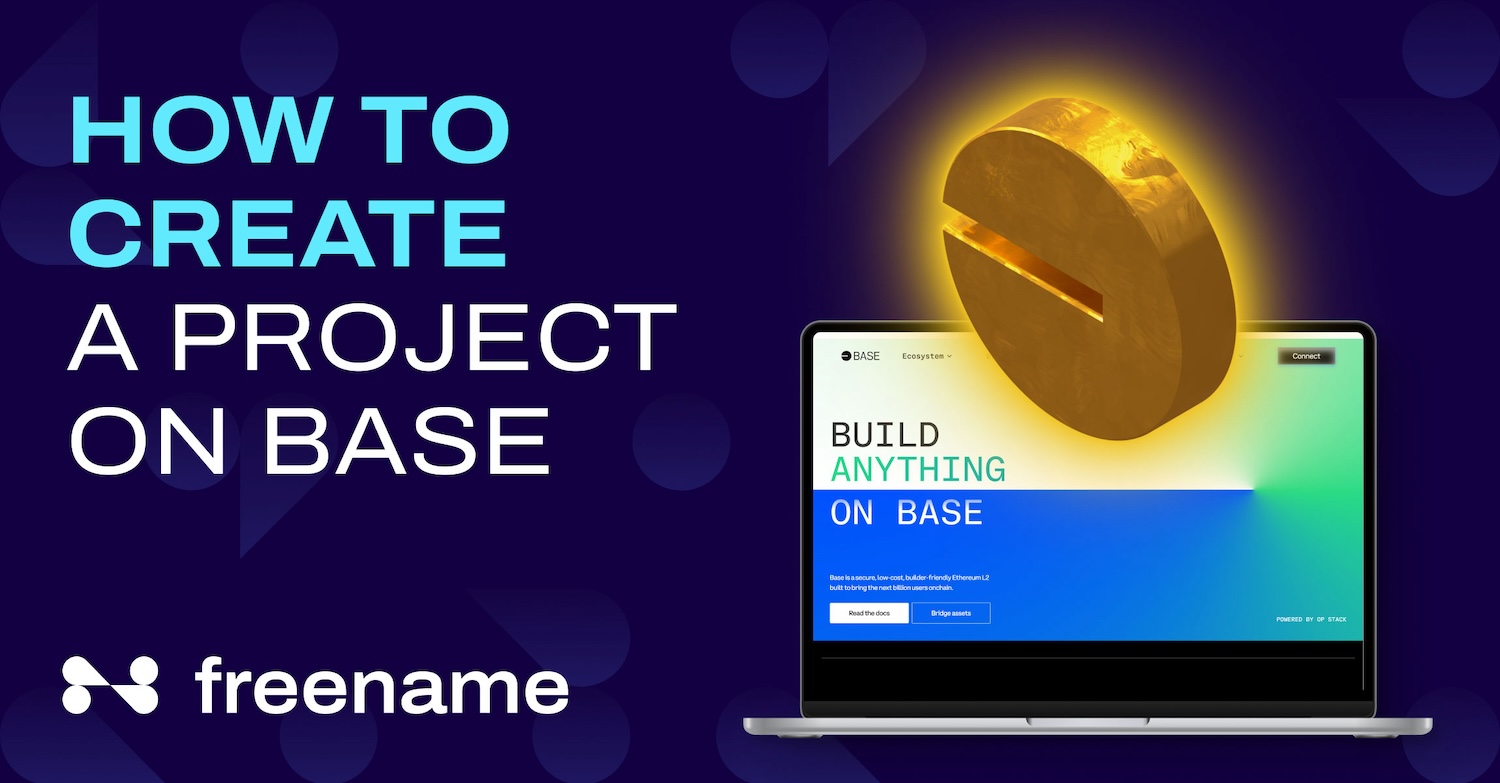
Base, or Base Chain, is an Ethereum Layer 2 blockchain network that lets you build decentralized apps on-chain. This OpenSource network aims to onboard more than one billion users on the Web3 ecosystem through its cost-effective, secure, and developer-friendly infrastructure.
Built as an L2 over Ethereum and powered by Optimism, the Base Chain ensures a high level of security and scalability. It is an open-source network that allows everyone from anywhere to access and create their own decentralized projects, aiming to build an agnostic Superchain.
Base Chain is currently incubated within Coinbase, but it will be decentralized soon. It offers a secure EVM environment to deploy your codebase and lets you onramp your digital assets from interoperable chains like Coinbase, Ethereum L1, and others.
So, how can you leverage Base to build your projects? What are the prerequisites? In this detailed guide, we will cover all the steps involved in creating and executing a project on Base Chain.
| Freename allows to mint a Web3 domain easily on Base. Read our detailed guide and start minting. |
Prerequisites for Setting Up Your Base Chain Environment
Getting started with Base would be easier if you know the basics of blockchain and Web3. For example, you need to know about the wallet setup, tokens, hardware, and software requirements that this Open Stack network supports.
So, let’s quickly go through the basic requirements to set up your Base Chain account.
Hardware Requirements for Base
- You should have an octa-core (8-core) CPU to run the Base node smoothly.
- The system must have at least 16GB RAM.
- You need a high-capacity SSD drive that should offer at least 750 GB free (full node) or 4.5TB free (archive node).
Software Requirements
Understanding of the Node.js is pivotal for creating projects on Base. Node.js is an open-source environment popular for almost all kinds of projects. You can download Node.js v18+ and install it using your system’s package manager.
Wallet Setup

The EVM L2 network is compatible with Coinbase Wallet as well as other EVM-compatible wallets, such as MetaMask.
1. Connecting Base Mainnet with Coinbase Wallet
Coinbase Wallet browser extension supports Base by default. Here’s how you can switch to the Base chain and make it your active network:
- Step 1: Open the Coinbase browser extension.
- Step 2: Supply the necessary login info to get inside.
- Step 3: Connect your app with the help of the Coinbase wallet.
- Step 4: Click on the network icon available at the top right corner. It will open the network selection menu.
- Step 5: Choose Base from the menu.
2. Connecting Base Sepolia Testnet to Your Coinbase Wallet
Connecting Base Sepolia Testnet is also quite easy using the Coinbase Wallet browser extension.
The first three steps will be the same as mentioned above; here are the remaining steps:
- From the network selection menu, click on More Network and open the Testnets tab.
- Click Base Sepolia to activate it as your network.
3. Connecting Base with EVM-Compatible Wallet (MetaMask)
You can connect Base to any EVM-compatible wallet as a custom network. Here’s how you can add Base to your MetaMask Wallet:
- Login to your MetaMask Wallet account through the MetaMask browser extension.
- Go to the network menu (at the top right corner) and click Add Network.
- Select Add Network Manually and enter the following information in the dialogue box:
| Name | Value |
| Network | Base Mainnet |
| Description | The public mainnet for Base. |
| RPC Endpoint | https://mainnet.base.org |
| Chain ID | 8543 |
| Currency Symbol | ETH |
| Block Explorer | https://base.blockscout.com/ |
- Click on Save.
Now, you can switch to Base anytime by selecting it from the network menu.
4. Connecting Base Sepolia Testnet with EVM-Compatible Wallet (MetaMask)
Follow the same steps to connect Base Sepolia to your EVM-compatible wallet. However, you need to provide the following information in the dialogue box:
| Name | Value |
| Network | Base Mainnet |
| RPC Endpoint | https://sepolia.base.org |
| Chain ID | 85432 |
| Currency Symbol | ETH |
| Block Explorer | https://sepolia-explorer.base.org |
Now that you know the prerequisites, it’s time to start creating your project on Base.
Step-by-Step Guide to Creating Your Project on Base Chain
First and foremost, determine the environment you want to set up. Here are the basics.
Setting Up Your Environment
Base Chain offers various tools, including Node Providers, Blockexplorers, Bridges, Network Faucets, etc., to get started quickly. However, beginners must explore Toolchains and choose a suitable Ethereum-based environment for their Base projects.
- Node.js: If you’re familiar with Node.js and know how to create servers, web apps, and scripts in this runtime environment, getting started with Base Chain will be a lot easier.
- Foundry: This toolchain basically helps you develop, deploy, and verify your smart contracts. It covers everything from compiling projects, running tests, managing dependencies, and interacting with the chain, etc.
- Hardhat: If you want a fast yet flexible solution to developing smart contracts, Hardhat is your best bet. This Etheruem-based toolchain is compatible with both Testnet and Mainnet platforms and lets you compile, edit, debug, and deploy your contracts on Base.
- Truffle: Truffle is an EVM-compatible toolchain offering lots of advanced features to speed up compilation, linking, and deploying smart contracts on chain. Explore features such as automated contract testing, scriptable migration framework, advanced debugging, and much more using Truffle.
Installing these toolchains to deploy your smart contracts is super easy.
- Installing directly from the provider: You can simply access your desired toolchain to get all the information related to running and executing your smart contracts.
- From Base Platform: The base platform offers all the necessary documentation and scripts for each of the recommended Toolchains, except for Node.js. You can simply copy the scripts according to the active network (Testnet or Mainnet) to deploy and verify your L2 smart contracts.
Next, you need to set up your environment by running this Node.js query: npm init –y
Creating a New Project on Base Chain

Initializing a Project
To create a new project, begin by installing the toolchain of your choice (Hardhat, Truffle, etc.). Here’s how you can create a new project using Hardhat.
- Run “npm install –save-dev hardhat” to install Hardhat.
- Next, to create a new project using Hardhat, type “npx hardhat init”.
- Choose “Create a TypeScript project” from the menu and press enter.
- Press ‘y’ to add a .gitignore sample project.
- Press ‘y’ to load the project.
The system will take a few moments to complete the project setup process.
Configuring Project Files with Base Chain
Here, you will be configuring your Hardhat to use the Base network. You can add Base network to your Hardhat project file by using the following script:
| import { HardhatUserConfig } from ‘hardhat/config’; import ‘@nomicfoundation/hardhat-toolbox’; require(‘dotenv’).config(); const config: HardhatUserConfig = { solidity: { version: ‘0.8.23’, }, networks: { // for mainnet ‘base-mainnet’: { url: ‘https://mainnet.base.org‘, accounts: [process.env.WALLET_KEY as string], gasPrice: 1000000000, }, // for testnet ‘base-sepolia’: { url: ‘https://sepolia.base.org‘, accounts: [process.env.WALLET_KEY as string], gasPrice: 1000000000, }, // for local dev environment ‘base-local’: { url: ‘http://localhost:8545‘, accounts: [process.env.WALLET_KEY as string], gasPrice: 1000000000, }, }, defaultNetwork: ‘hardhat’, }; export default config; |
Next, you need to install the desired Hardhat toolbox plugin. The above toolbox is @nomicfoundation/hardhat-toolbox that can be installed with the help of the following query:
| npm install –save-dev @nomicfoundation/hardhat-toolbox |
After configuring your file, install the dotenv Wallet_Key variables to create a private key for your wallet. Type npm install –save-dev dotenv.
Now, create a .env file by typing “WALLET_KEY=”<YOUR_PRIVATE_KEY>” You need to replace your private key with Your_Private_Key.
Writing Smart Contracts
A smart contract is a set of data and instructions (source code) stored on a blockchain network. It executes only when the stipulated conditions are met. Smart contracts allow you to automate processes, access dApps, and execute transactions directly through a Web3 domain.
Let’s understand the basics by examining a simple Set and Get smart contract:
| // SPDX-License-Identifier: MIT pragma solidity >=0.8.2 <0.9.0; contract Storage { uint data; function set(uint x) public { data = x; } function get() public view returns (uint) { return data; } } |
- The first line of the contract shows information about the license type (SPDX) and licensed owner of the source code. In this contract, the source code is licensed under MIT.
- The next line specifies the type of compiler you wish to use. For example, we are using a Solidity version between 0.8.2 and 0.9.0. Pragmas offers relevant instructions to the compilers on how to treat a specific source code.
- The next line usually shows the name of the contract. Here, we named it “Storage”.Then, you will find the unsigned integer (uint); in our case, we call it “data”. This integer will store the data you assigned while executing the functions.
- The next three lines show the set() function, taking the uint variable as a parameter and assigning it to “data”. The word “public” represents that anyone can call the set() function.
- In the last couple of lines, there are two functions; set(), showing the value of the “data” variable, and returns (uint), specifying that the function is meant to return the uint variable. The view keyword instructs the Solidity compilers that the function is read-only.
Writing Secure and Efficient Smart Contracts: Best Practices
Given its top-notch security and scalability, the Ethereum blockchain offers a solid platform for creating smart contracts. The Ethereum Virtual Machine, Solidity, and Gas Fee are the building blocks of smart contracts, so familiarizing yourself with them is crucial.
For efficient and robust smart contracts, follow these quick tips:
- In token issuance contracts, use the assert() function to fix the token to Ether issuance ratio automatically.
- All functions dealing with Ether must have payable modifiers to facilitate calls from external contracts.
- Solidity-powered contracts have integer divisions rounded to the nearest integer. Therefore, store both the numerator and denominator – or use a multiplier for better accuracy.
- Modifiers must be used properly. Also, check their data length.
- Fallback functions should be simple, concise, and purpose-driven for easier understanding.
- If the contract inherits an abstract contract, it must implement all unrealized functions; otherwise, it will also become abstract.
- You can use events to monitor the smart contract’s activity.
- Be continuous while using convenience functions, such as require() and assert() to avoid any unforeseen issues.
- Pay attention to pragmas that show the exact version(s) of the compiler intended by the author of the contract.
- Do not deploy a contract using a different compiler because there is a risk of undetected bugs.
- Don’t use tx.origin for authorization because it will restrict the interoperability of the contract.
Compiling and Testing Smart Contracts
Let’s take a look at a smart contract written in Solidity:
| // SPDX-License-Identifier: MIT pragma solidity ^0.8.23; import “@openzeppelin/contracts/token/ERC721/ERC721.sol”; contract NFT is ERC721 { uint256 public currentTokenId; constructor() ERC721(“NFT Name”, “NFT”) {} function mint(address recipient) public payable returns (uint256) { uint256 newItemId = ++currentTokenId; _safeMint(recipient, newItemId); return newItemId; } } |
The code has ERC721 interface from OpenZeppelin Contracts Library. This interface will be used to create an NFT smart contract. To add this library to your project, type npm install –save @openzeppelin/contracts.
You have to delete the “contracts/Lock.sol” contract that was initially generated with your project. Add the code in a new file called contracts/NFT.sol.
Next, the contract will be compiled with the help of Hardhat. Type npx hardhat compile.
After compiling the contract, run a test and debug common issues.
Search and Register for a Web3 Domain
Web3 domains act as gateways to the vast decentralized internet. By integrating your smart contract with a Web3 domain, you will give it a unique identity. Not only that, but you can add more projects under a single domain.
Web3 domain names are much more beneficial than traditional domains. They are permanent and offer foolproof security for your digital assets.
| In fact, you can choose a TLD offered by Freename.io and even become a registrar, so you can earn royalties up to 50%. |
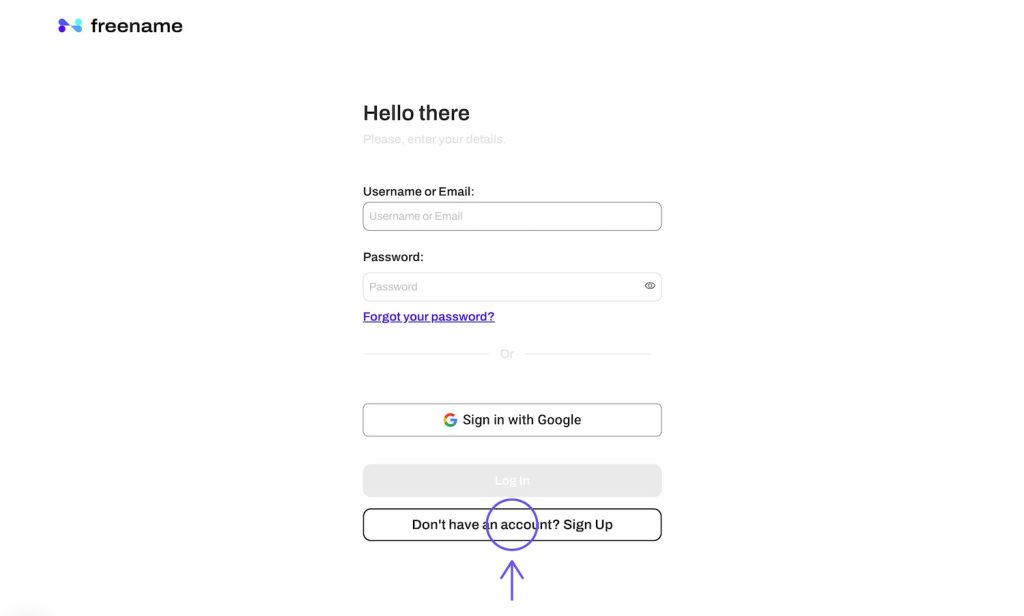
Follow the simple process:
- Create your digital asset
- Link the Web3 domain to the frontend interface of your smart contract using Ether.js or Web3.js.
- Configure your DNS settings – you can easily download Freename’s DNS installer and follow the instructions for hassle-free integration.
| Freename allows to mint a Web3 domain easily on Base. Read our detailed guide and start minting. |
Read on to explore how you can build your project’s front end.
Building the Frontend

Frontend development involves creating user-end interfaces to help them interact with smart contracts. You can design a website or mobile app, enabling users to view your projects, make digital transactions, or manage assets in a secure environment.
Here’s how you can set up a React project.
Step 1: Install Node.js and npm on your system.
Step 2: Set up a new React Project using the code:
| npx create-react-app my-blockchain-app cd my-blockchain-app |
Step 3: Install Web3.js by using this code:
| npm install web3 |
Step 4: Set up Web3 in your React App, and connect it to an Ethereum node. You can use this code:
| // src/web3.js import Web3 from ‘web3’; const web3 = new Web3(Web3.givenProvider || “http://localhost:8545”); export default web3; |
Step 5: Now, create a new file that will interact with your smart contract. Use this code:
| // src/contract.js import web3 from ‘./web3’; const address = ‘YOUR_CONTRACT_ADDRESS’; const abi = [ // YOUR_CONTRACT_ABI ]; const contract = new web3.eth.Contract(abi, address); export default contract; |
Step 6: Now, you can fetch the blockchain data into your React components.
| // src/App.js import React, { useEffect, useState } from ‘react’; import web3 from ‘./web3’; import contract from ‘./contract’; function App() { const [account, setAccount] = useState(”); const [balance, setBalance] = useState(”); useEffect(() => { const loadBlockchainData = async () => { const accounts = await web3.eth.getAccounts(); setAccount(accounts[0]); const balance = await contract.methods.balanceOf(accounts[0]).call(); setBalance(balance); }; loadBlockchainData(); }, []); return ( <div> <h1>My Blockchain App</h1> <p>Account: {account}</p> <p>Balance: {balance}</p> </div> ); } export default App; |
Step 7: Finally, run your App and start the development server.
npm start
Interacting with Smart Contracts
You can interact with smart contracts in a number of ways, including reading, writing, and handling transactions or displaying contract data. For this purpose, you can use any of the following tools:
- Web3.js
- Ether.js
- Truffle (and Truffle contract)
- Hardhat
- Remix IDE
- Infura
- MetaMask
Each method has its unique benefits and is meant for a different purpose. So, choose the tool according to your environment.
Testing Your Project on Base Chain

There are several steps to test your Web3 project. These include:
- Step 1: Create a unit test for your smart contracts with the help of Truffle, Hardhat, or Foundry. This will ensure that the logic is correct.
- Step 2: Use tools like Hardhat or Ganache to test the front end of your application. Hardhat can simulate blockchain interactions to better understand how your application performs in a local Ethereum environment.
- Step 3: Integrate these with your code and test its functionalities. The code can be generated using Web3.js or Ether.js.
- Step 4: For end-to-end testing of your application, leverage frameworks like Selenium or Cypress. These frameworks offer automated testing, making sure your decentralized app works according to users’ expectations.
Deploying Your Project on Base Chain
After the contract has been compiled, you can deploy it to the specified network. For example, the following code will deploy the NFT smart contract to the Base Sepolia test network. But before that, you need to change the scripts/deploy.ts file.
| import { ethers } from ‘hardhat’; async function main() { const nft = await ethers.deployContract(‘NFT’); await nft.waitForDeployment(); console.log(‘NFT Contract Deployed at ‘ + nft.target); } // We recommend this pattern to be able to use async/await everywhere // and properly handle errors. main().catch((error) => { console.error(error); process.exitCode = 1; }); |
Finally, run the code:
| npx hardhat run scripts/deploy.ts –network base-sepolia |
To deploy the project to Base Mainnet, you need to modify the command line:
npx hardhat run scripts/deploy.ts –network base-mainnet
To view the deployment status, you can use the block explorer to search for the address for your deployed script.
Deploying the Frontend for Your Application
You can deploy the front end of your application by using Netlify or Vercel. After building your app, connect it to your repository.
- If you’re using Netlify, set your build command to “npm run build” and publish directory to “build”.
- Similarly, you can follow the prompts provided by Vercel to deploy your application’s front end.
Finally, check and ensure everything is working correctly on the live network.
Advanced Tips and Best Practices
Follow these tips to execute your blockchain project smoothly and safely:
- Instead of relying on arrays, use mapping where it’s relevant. You can use The Graph for indexing.
- Store only essential data on the blockchain network. Invest in Interplanetary File System (IPFS) for decentralized storage.
- Group operations instead of running them separately. It will reduce the gas cost.
- Event logging works for you while off-chain data tracking.
- Conduct thorough audits regularly to ensure your system has no vulnerabilities.
- Implement advanced security measures, such as proxy patterns, for upgrading contracts.
Troubleshooting Common Issues
Some of the most common issues related to blockchain projects are deployment failures, bugs in smart contracts, and network connectivity issues. Here are some common issues and their resolutions
Deployment Failures and Their Resolution
Some common deployment failures occur due to the following:
- Exceeding gas limit: Estimate your gas accurately, optimize your code, and split your transactions.
- Exceeding contract code size limit: Make your contracts smaller to mitigate this problem.
- Not enough funds: Always ensure you have sufficient Ether balance in your account.
- Compiler version issues: Be careful while writing your contracts or interacting with smart contracts.
- Library linking issues: Make sure you connect with the correct library before deployment.
- Constructor parameters: Always verify your contracts before deployment.
- Network forks or upgrades: Monitor network changes and adapt accordingly.
Common Issues Related to Smart Contracts
- Use SafeMath library to counter integer overflow/underflow issues
- To prevent reentrancy attacks, use “Check-Effects-Interactions” pattern.
- Initialize variables explicitly.
- Use the require() function to prevent issues of unchecked external calls
- Commit-reveal oracles can solve the front-running issues.
Create a Project on Base Chain Using Your Web3 Domain
Base Chain is becoming increasingly popular because of its L2 Ethereum-based infrastructure, which ensures better scalability, permissionless transactions, and cost-effectiveness. It offers a seamless experience, better security, and more assets on the chain compared to other Layer 2 networks.
After meeting all the prerequisites, you can install the right software and Javascript, which should help you add Base as your active network to your MetaMask or Coinbase Wallet. Then, you can go on to build your projects with the help of toolchains like Hardhat, Foundry, Truffle, or Node.js.
Later, you can integrate a Web3 domain with your project on Base Chain and add more without worrying about security. This network is cheaper than other Ethereum-based networks, hence providing better scalability and financial security.
Additional Resources
Helpful Links
- https://docs.base.org/docs/
- https://www.base.org/
- https://docs.base.org/tutorials
- https://docs.base.org/docs/fees/
- https://thebasenetwork.org/
- https://base.blockscout.com/