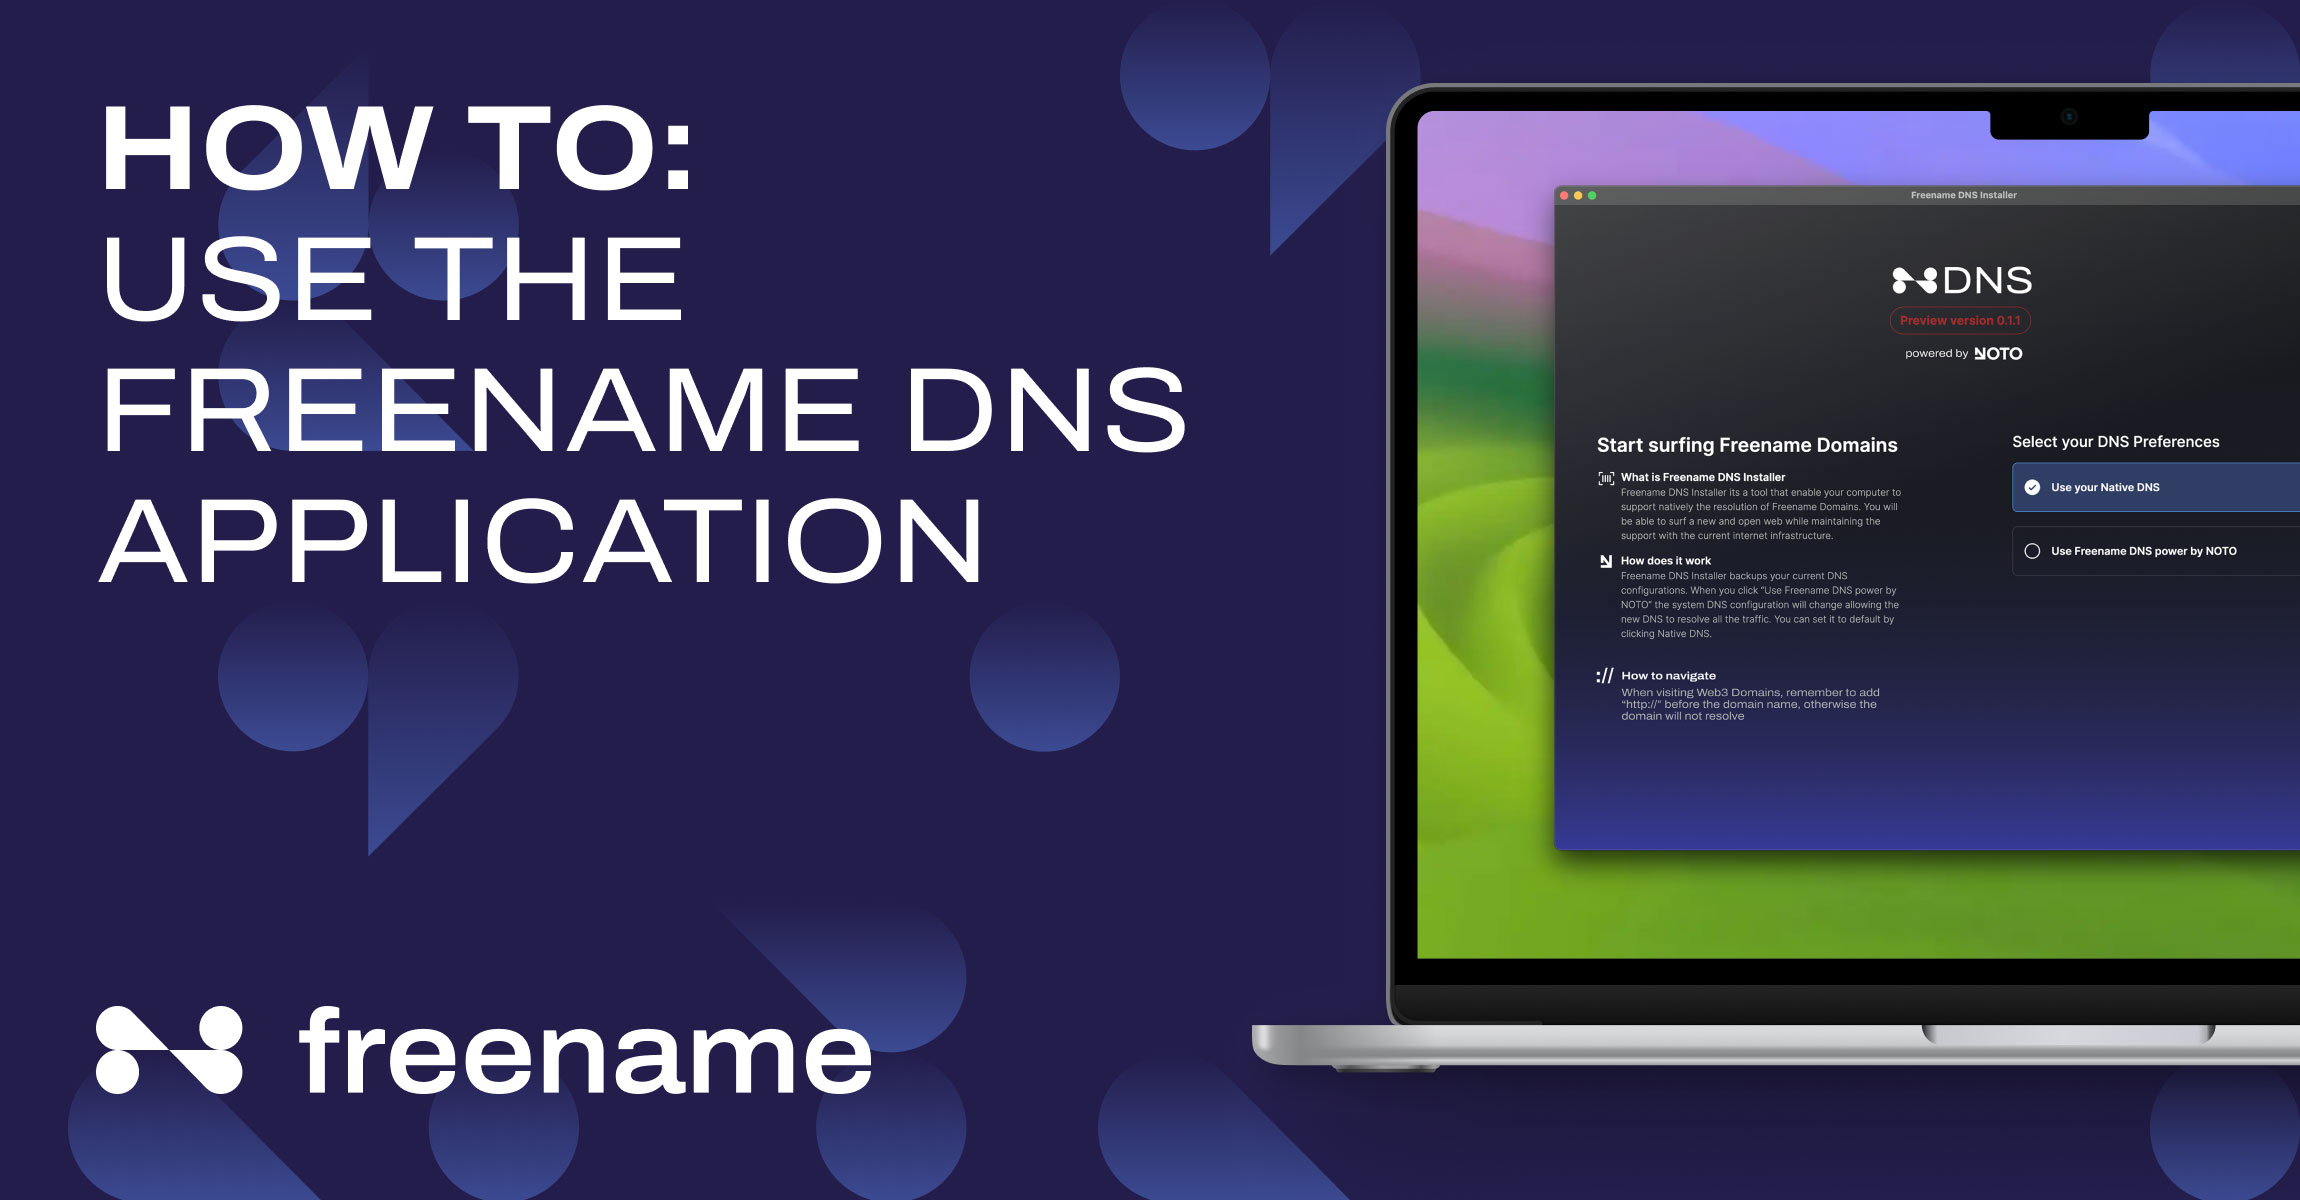
How to use the Freename DNS
Welcome to the Guide for the installation and setup of the Freename DNS.
The APP will seamlessly set up new DNS numbers in your computer, allowing you to visit any Web3 Domain directly from your browser.
1. Download the APP
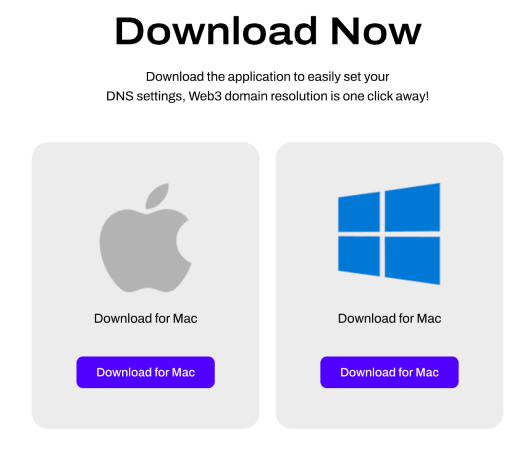
Follow this link to download the application.
2. Install the APP
For Mac
Intel CPU (built before 2020)
Download the Darwin X64 version of the APP
Apple silicon CPU (built after 2020)
Download the arm64 version of the APP
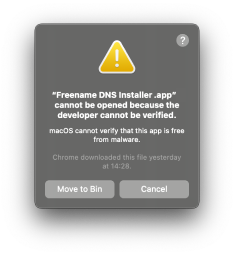
If you get this message
Right click on the application and select “open”
For Windows
Install the APP
The Freename DNS APP is currently in beta, any feedback or bug report would help us immensely
3. Activate DNS
Run the Application
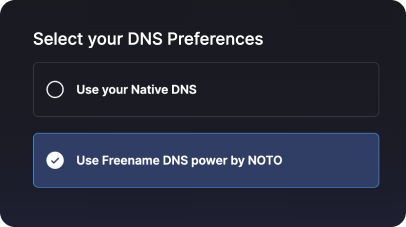
Select “Use Freename DNS”
This will set up new DNS addresses on your computer.
To go back to original settings, just select “Use your Native DNS”.
To reset your DNS settings:
Select “Use your Native DNS
To browse Web3 Domains
You will always need to put “http://” before the domain otherwise it will not resolve
4. Browse

To browse Web3 Domains
You will always need to put “http://” before the domain otherwise it will not resolve